Making the (mini)frekvens/hacks
When I first heard about frekvens, the IKEA collaboration with teenage engineering, I lived in a place that had no IKEAs nearby for me to checkout the products. It might be hard to believe, but there are countries that have escaped the seemingly omnipresent IKEA. I was in one of these places.
The premisse was nice: a set of devices to make a home party. The execution (from the point of view of someone that never had any of the devices) was really great. I say that because the frekvens have one of the best and coolest things a set of products can have (at least to me): modularity.
They all have some standardised slots that allow you to connect modules together in whatever way you want. Even better, teenage engineering themselves released what they called "frekvens hacks", a collection of accessories that you can 3D print yourself at home to make the devices more interesting, fun and useful. It really feels like it invites you to play with them, build other accessories, make them become whatever you need them to become. A philosophy that is quite opposed to a lot of other products we see nowadays. Those colourful accessories they provided to 3D print, with simple but interesting shapes, have been recurrent in my mind for a while now.
It was one of these days when I saw the new IKEA KALLSUP, a small and super cheap cube-shaped speaker, that the image of the frekvens hacks came to mind. I kept asking myself how easy it would be to 3D print a new enclosure for the KALLSUP and make it resemble the frekvens. Then, I'd be able to remake some of the frekvens hacks compatible with my new mini-frekvens.
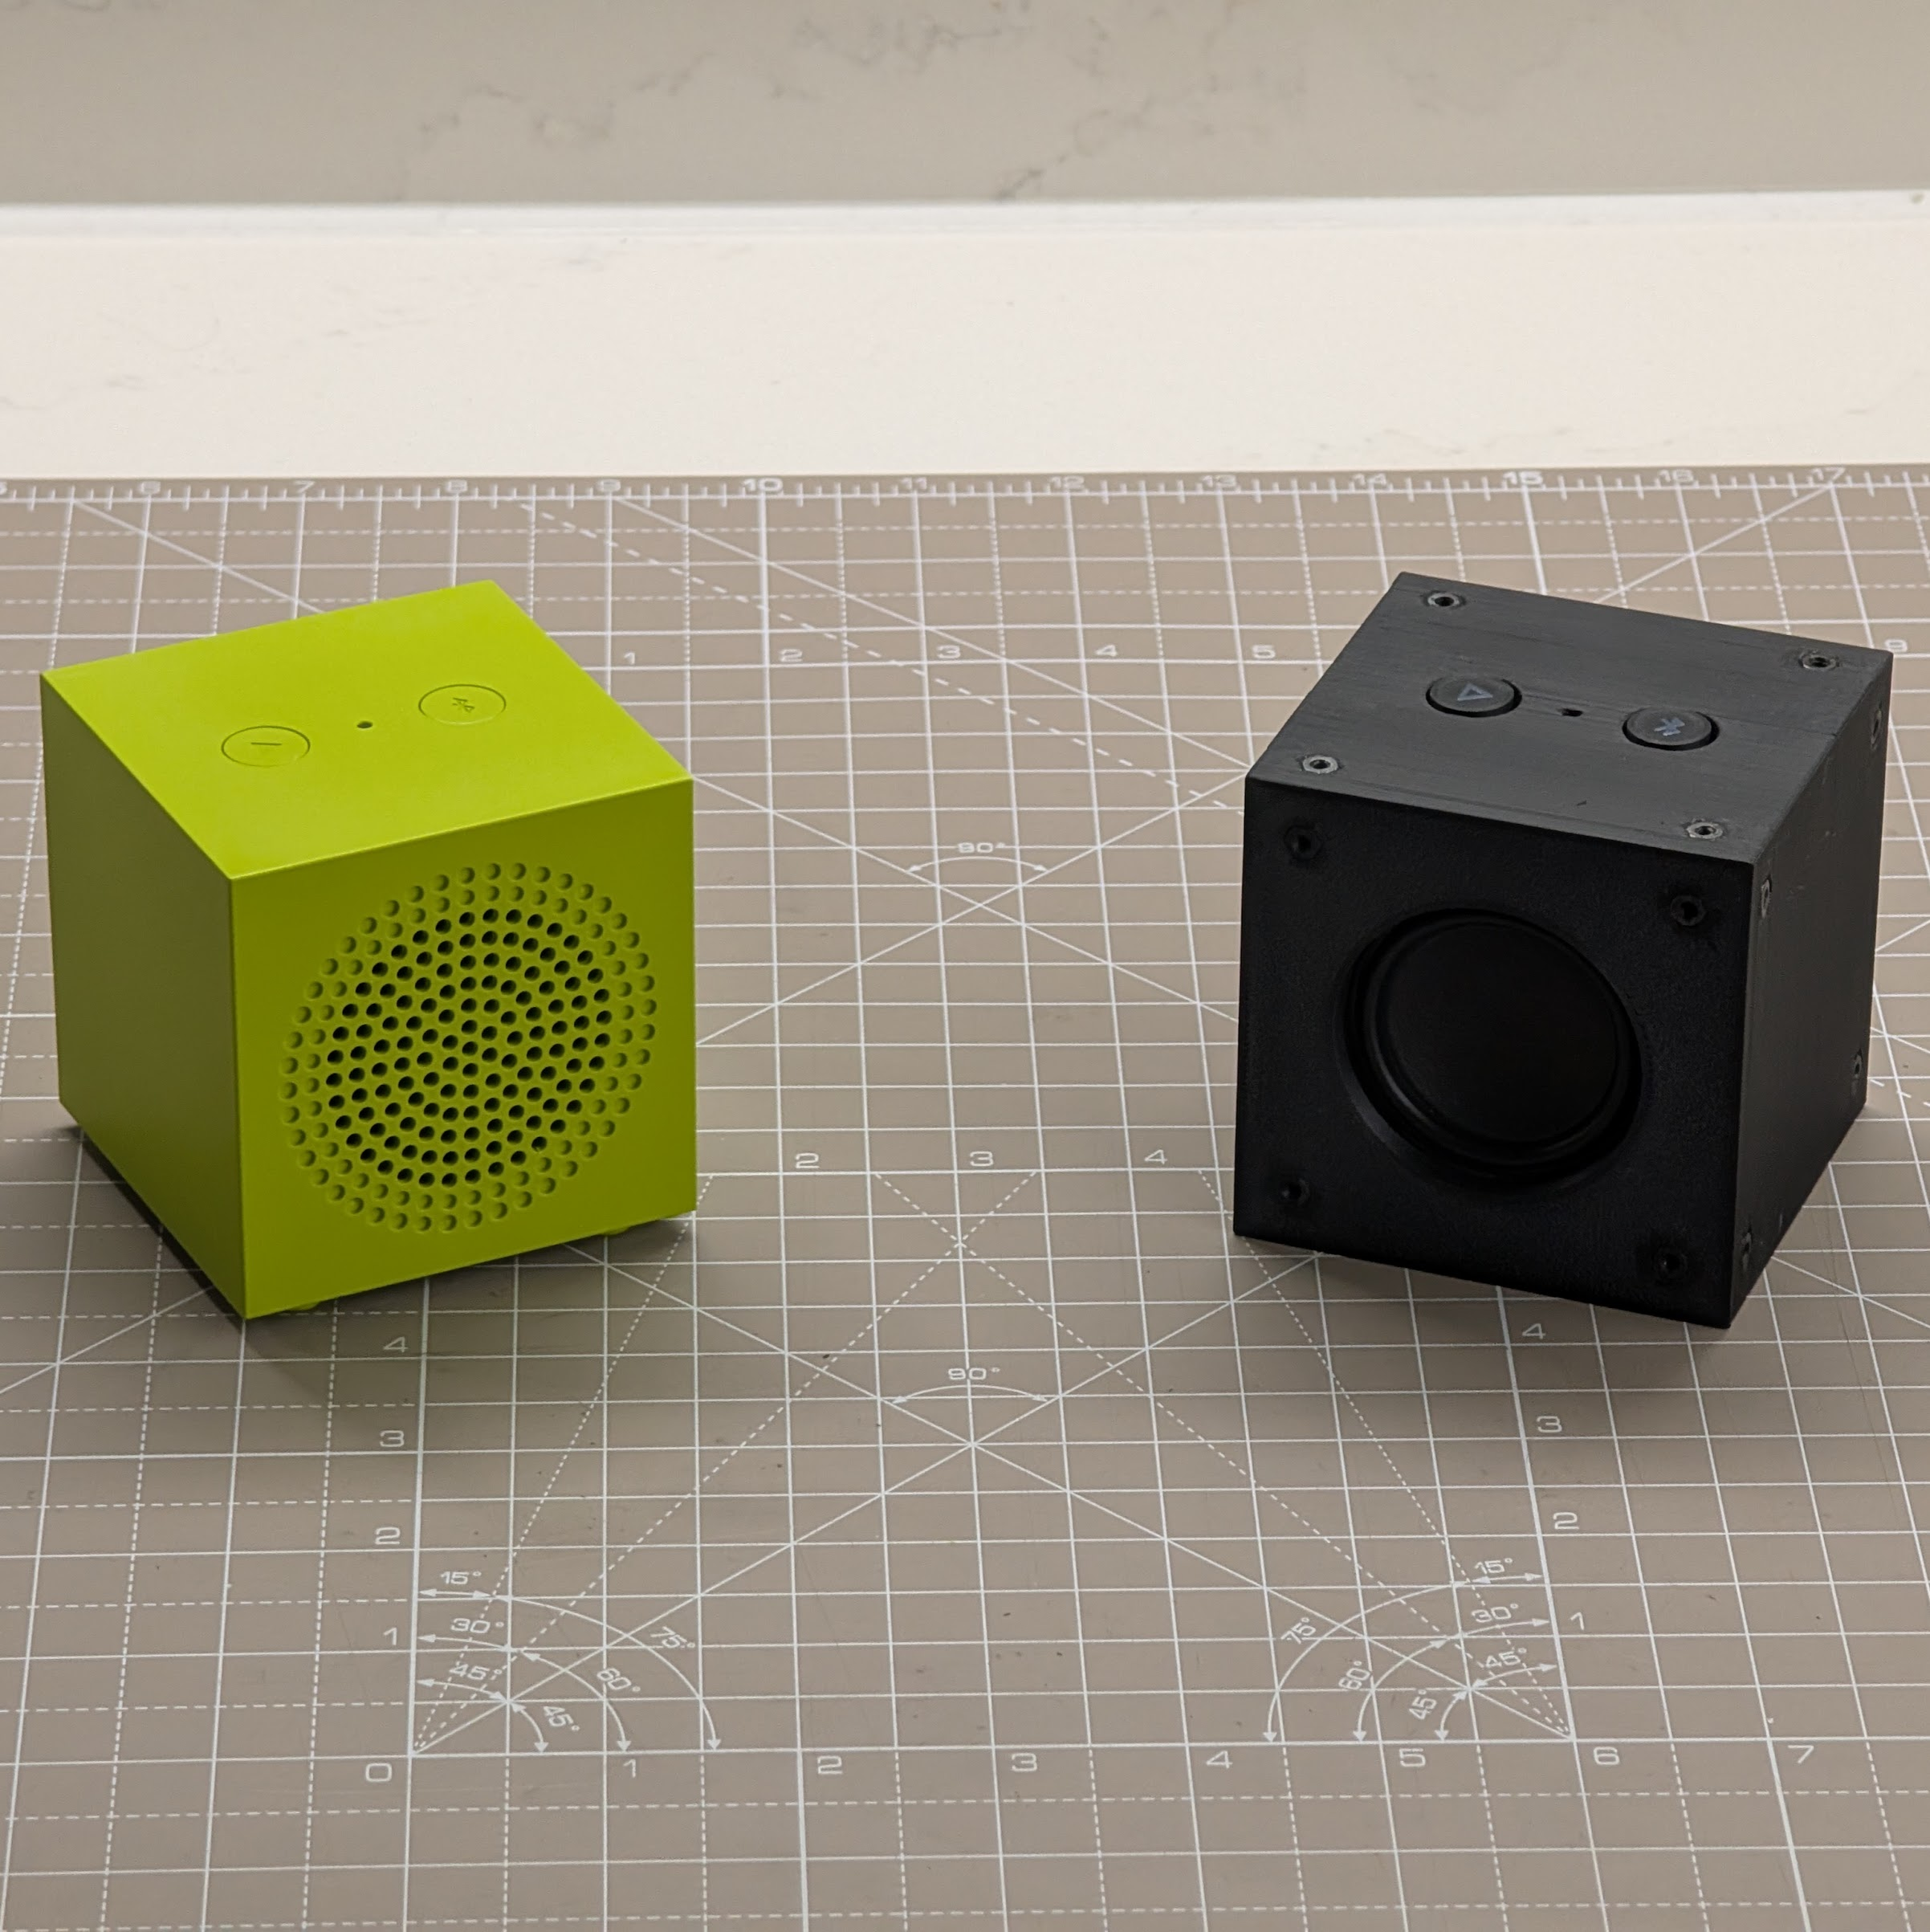
I decided to give this quick project a try, and it gave me more joy than I initially expected. I made a few, but not all the models that teenage engineering made available for the frekvens hacks. These modules are also not a perfectly shrunk version of the originals, I remade them quickly just by looking at the website photos and working around the speaker constrains. Proportions might be off.
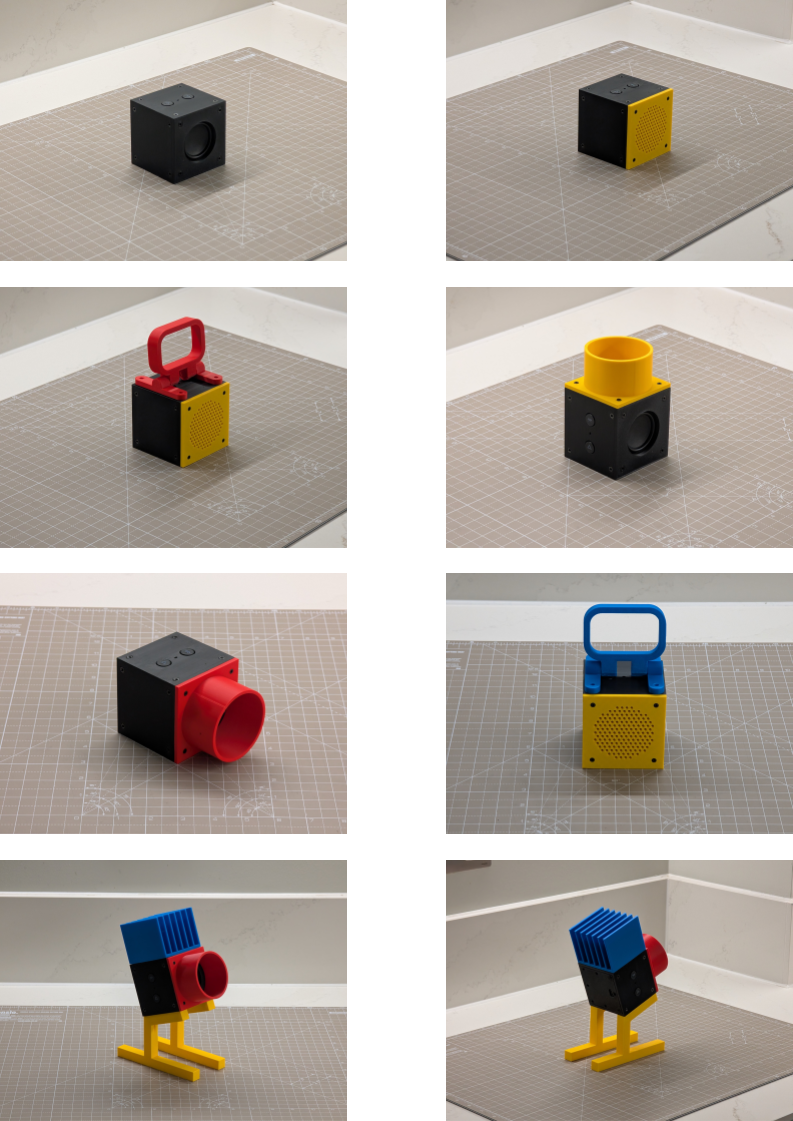
Building them for yourself for should be easy, there are very few parts. But if you need an assembly guide, you can download the instructions to the original frekvens hacks in the teenage engineering website, my accessories follow the same steps.
When building the main body, I decided to not use heated inserts and go with a simple hex shaped nut for a (silly) reason: the heated inserts I have are brass and I wanted them to be in black to match the main body color. Hopefully this also doubles as a celebration to teenage engineering work since they have a hex nut in their logo.
The nut is added in the outside face and fixed in place with cyanoacrylate glue (aka super glue). Adding them on the inside face would make much more sense, mechanically speaking, but I wanted to maintain an air seal inside the speaker chamber and mounting the nuts from the inside would require a few wholes in it. The downside of this approach is that you'll likely have to sand the nuts a little bit to create a rough surface for the nuts to glue properly on the main body, otherwise they will fall off easily.
Internally, I've used some shock resistant "anti-noise" foam tape to avoid having components rattling inside.
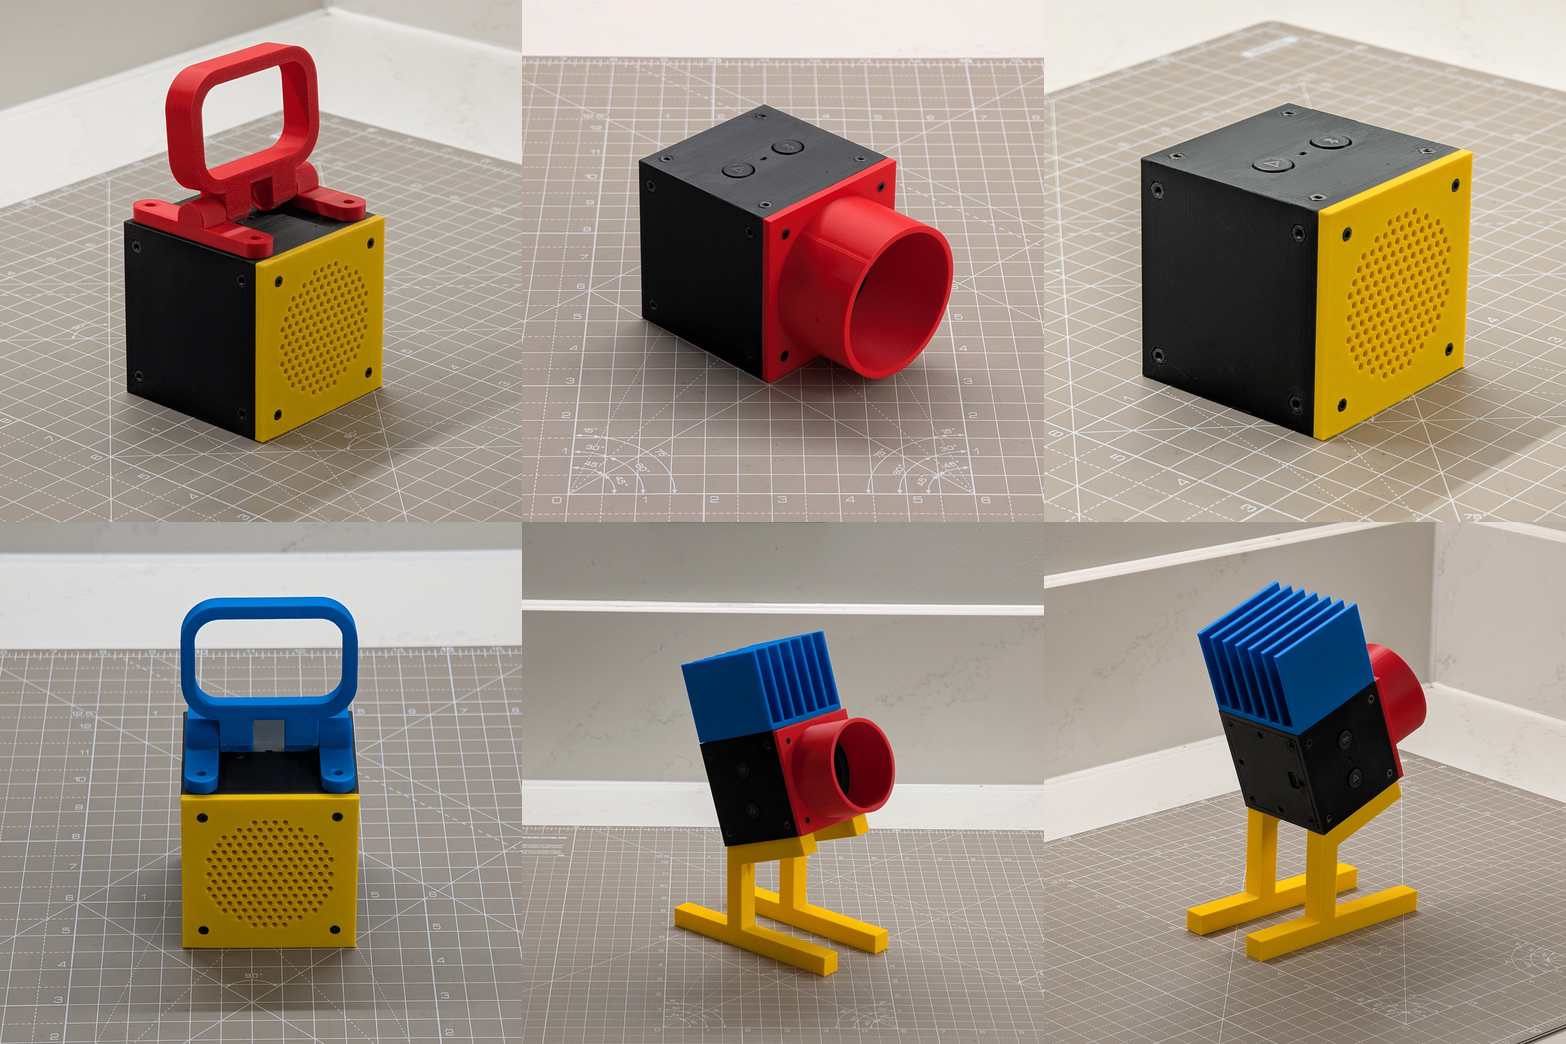
A full list of components would be:
- Shock resistant anti-noise foam tape (5 mm x 0.5 mm)
- 28x M2.5 nuts – four for each one of the 6 external faces and four more to hold the back plate on the main body
- 3x M2.5 5 mm screws – that holds the speaker piece in the main body
- 4x M2.5 12 mm screws – that holds the back plate to the main plate (any M2.5 from 10 mm up should be fine since the connection has no closed stop)
For each accessory:
- 4x M2.5 5 mm screws for each one – using 4 mm and 6 mm screws also seems to work fine
You can access the 3D models and download the files below: